今天好冷啊,到底外面的溫度是幾度呢?我可不想直接打開窗戶去吹冷風 ......
事前準備
- Raspberry Pi * 1,安裝 Raspbian Stretch 發行版,並做好 基本設定。
- iPhone / iPad,安裝 iOS 9 以上的版本。
安裝外掛
先依照 HomeKit 讓我們的家電更智慧,更像我們的家人 的步驟,完成 Homebridge 的安裝,並且確認 iPhone/iPad 的家庭 App 裡已經加入了這個 HomeKit 配件。
為了從 OpenWeatherMap 取得氣溫預測資料,我們使用 homebridge-openweathermap-temperature 這支外掛程式。
使用 npm 指令來安裝。
sudo npm install -g homebridge-openweathermap-temperature
申請 OpenWeatherMap 的 API Key
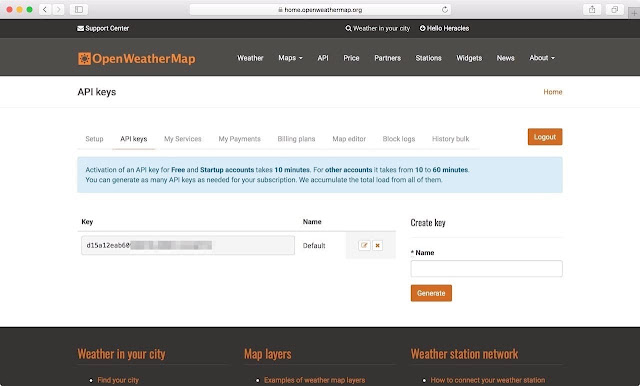
到 OpenWeatherMap 註冊一個帳號之後,就可以到 API Keys 網頁看到屬於自己的 32 碼金鑰。
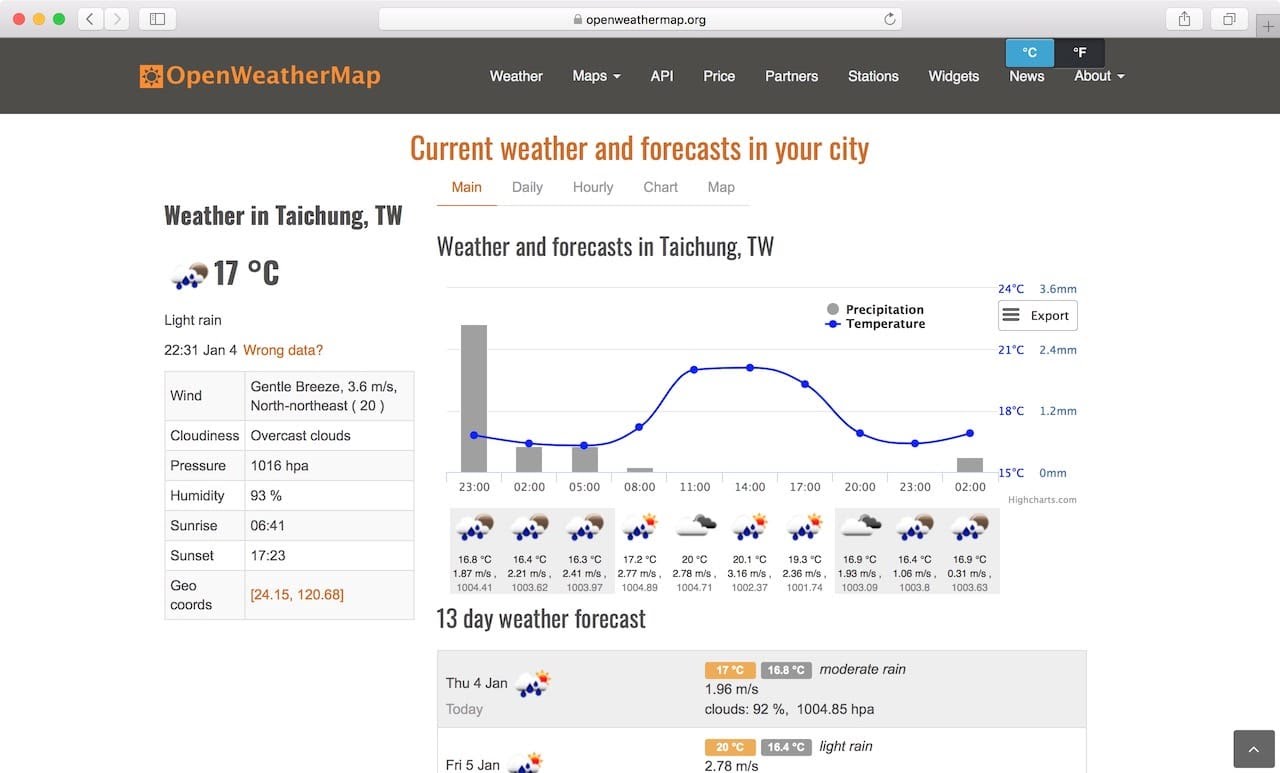
接著在 Weather maps 點選城市名稱,把國家 (COUNTRY) 及城市 (CITY) 的英文名稱記下來。
設定外掛
打開 Homebridge 的主設定檔。
sudo vi /etc/homebridge/config.json
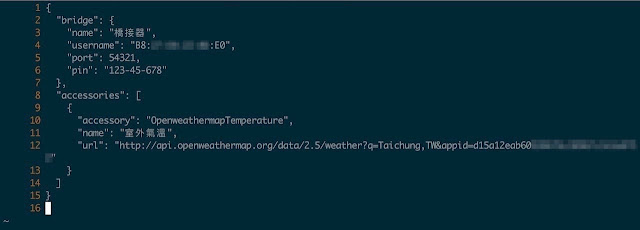
把 homebridge-openweathermap-temperature 外掛的設定值加進去。
- name: 在家庭 App 裡顯示的自訂名稱。
- url: 所在位置的城市、國家,和剛剛申請的 API Key。
{
"accessory": "OpenweathermapTemperature",
"name": "室外氣溫",
"url": "http://api.openweathermap.org/data/2.5/weather?q=Taichung,TW&appid=xxxxxxxxxxxxxxxxxxxxxxxxxxxxxxxx"
}
]
重新啟動服務後就生效了。
sudo systemctl restart homebridge
實際使用
在家庭 App 裡就可以看到目前的室外氣溫了。
參考資料
圖片來源
- https://pixabay.com
更新紀錄
- 2018/01/06 撰文


BMW催情液 https://www.tw9g.com/goods/pro402.html
回覆刪除